We recently got fibre to our house using Spark as the ISP and of course Chorus as the installer. The fibre terminates in the house at the ONT, optical network terminal. The ONT has an Ethernet RJ-45 socket that you connect to the Spark supplied Huawei HG659b modem.
At the time I had a SonicWALL TZ170 and I was hoping to connect the TZ170 direct to the ONT. Alas things are never as simple as that.
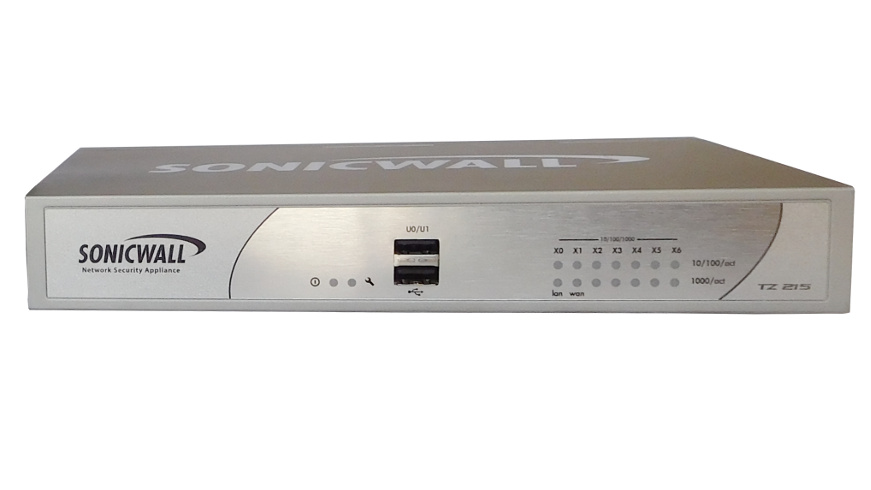
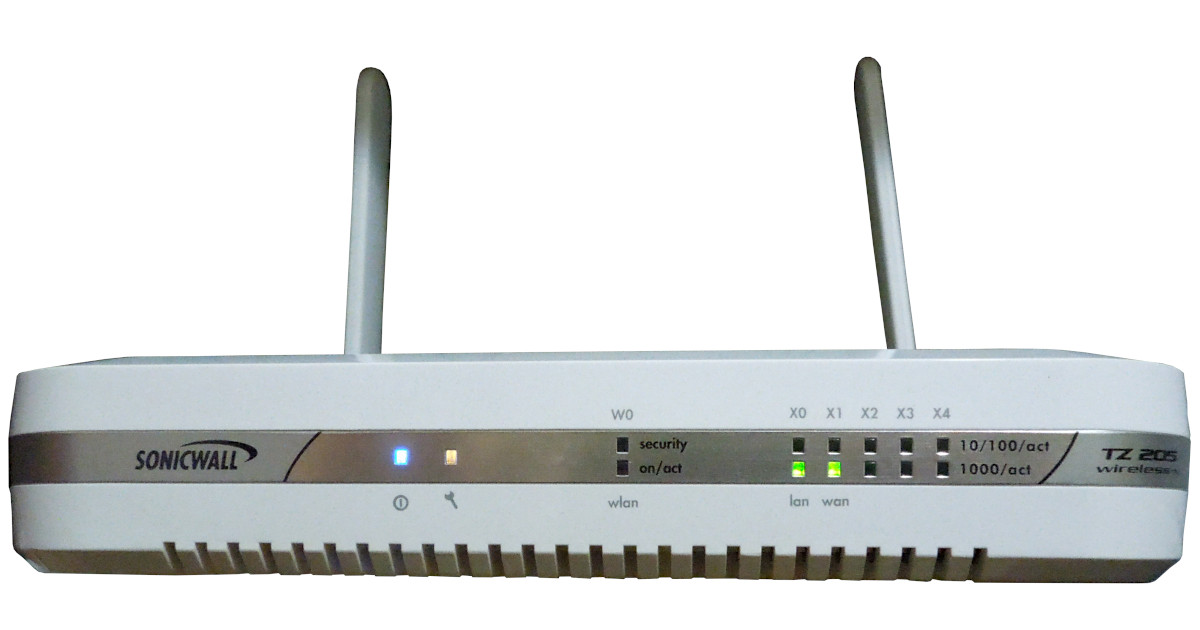
Finally I managed to get this working with a SonicWALL TZ205w. This post describes how to connect the TZ205w directly to the Chorus ONT without using the modem in between.
Must use Firmware 5.9 or greater
The big thing I found was that since I had a generation 5 appliance I needed SonicOS 5.9.x. In my case I needed to update. If you are lucky enough to have a generation 6 appliance then I believe you need SonicOS 6.0 or greater – but check at https://www.mysonicwall.com/
Steps
To keep things simple and easy to replicate I will describe this starting from a clean factory reset firewall. Also bear in mind this post is based on firmware “SonicOS Enhanced 5.9.1.6-5o”.
| 1. |
 Before you do anything I would suggest you backup your current configuration:
My experience of late is that I have more problems with backing up firmware than using the export settings. I have been getting errors importing backed up firmware. |
| 2. | The next thing we are going to do is reset to factory defaults. You don’t have to do this but by resetting you know any previous configs are not getting in the way.
A good strategy sometimes is to backup what you have, then do a factory reset, get it working then rollback to your old settings in the knowledge that it can work with your equipment and hopefully some ideas on what to do. To do a factory reset you can either press the reset button while it is running or press the reset button while unplugging the power and keep it pressed while you plug the power back in – I am doing the latter, holding the reset button down while cycling the power. You need to keep the reset pushed in for at least 20 seconds after the power is applied. 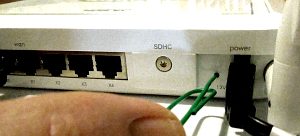 The reset button is a recessed tiny hole next to the power connection – use a paper clip or pin to push it: |
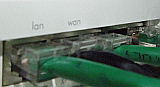
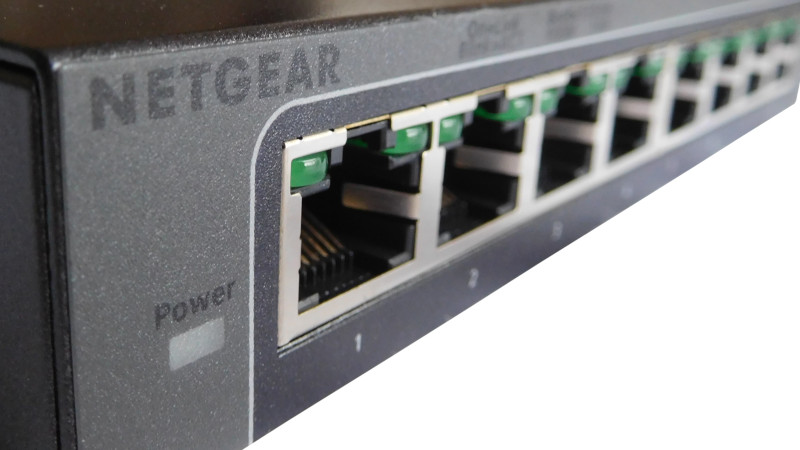
| 3. | After resetting ensure you connect you PC to the “LAN” port on the back:
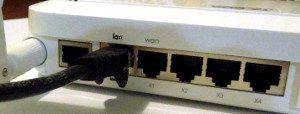 |
| 4. | From you PC go to http://192.168.168.168 – so obviously you will have to change your network setting temporarily. This will take to:
|
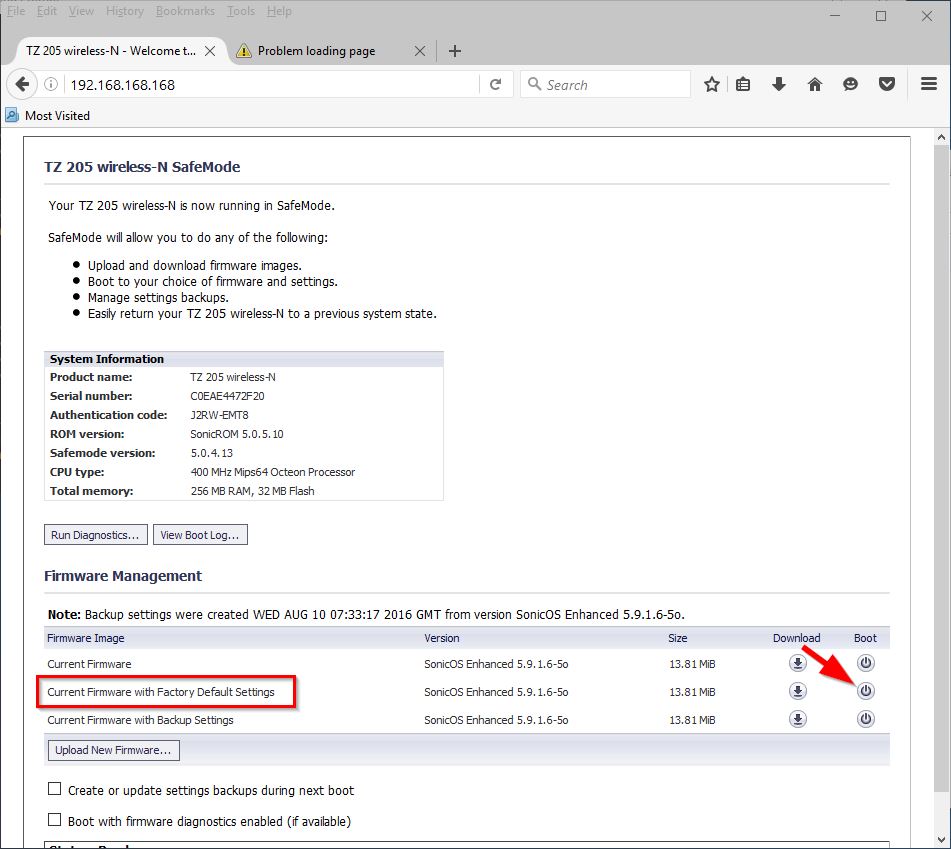
Ensure you click on the boot icon, shown above, for the “Current Firmware with Factory Default Settings”. 5. I will now restart and you should be patient as this may take a few minutes. Then you will be presented with the below screen and you should click the link shown below to start the setup wizard:

7. Just continue through the wizard, it is pretty straight forward and accepting defaults is fine.
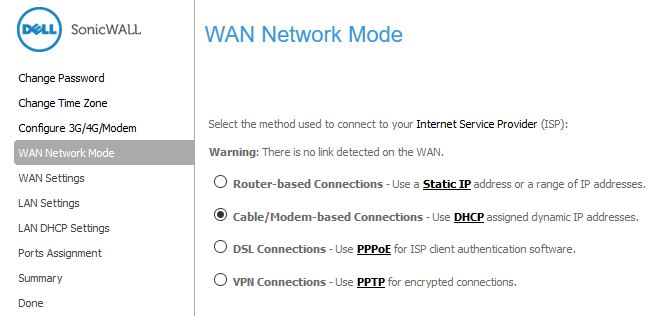
You will get to a screen “Change Administrator Password”. This will ask for the old and the new password. As you have done a factory reset the old password is “password”. 8. On the “WAN Network Mode” select “Cable/Modem – based connection”:
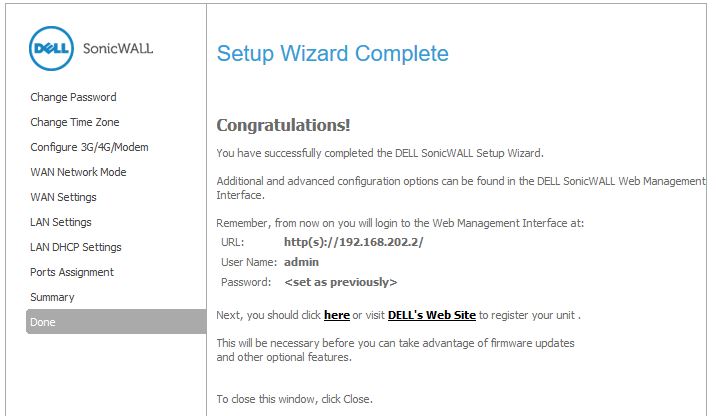
9. The final screen should look as below. If you have changed the IP of the SonicWALL you now need to connect to it on this new IP:
10. Check the WAN interface is set correctly, it should be set to DHCP and the MTU set to 1492:

11. Now you need to a “Virtual Interface” to the WAN interface, so go to “Network | Interfaces”:

12. The virtual interface should be setup as below. The key points are:
General
Zone: WAN
VLAN Tag: 10
Parent Interface: X1 (Or whatever is your WAN Inteface)
IP Assignment: PPPoE
User Name: user@spark.co.nz
Password: password
Advanced
Enable Default 802/1p CoS: 0 – Best effort
Interface MTU: 1492
Protocol
Reconnect the PPPOE if the server does not send traffic for “1” minutes

13. Now we need to create a route.
Go to “Network | Routing” and click on “Add”:

14. Create the following route:

15. For some reason you now need to click on “Connect”:

Connecting may take a minute or two, so just refresh the page.
I have tested and this “Connect” continues even if you reboot the SonicWALL via the “System | Restart” or if you disconnect the power for over 30 seconds and reconnect.
Resources
Thanks to everyone below for pointing me in the right direction:
Sonicwall – VLAN configuration (Wieger Bontekoe)
https://bontekoe.me/2012/09/24/sonicwall-vlan-configuration/
New Fiber Optic Internet Connection, want to use Sonicwall TZ200 @ serverfault
See the last post by “Martijn”