I have created a customized skin for Kodi, forked from the Amber skin. The purpose of this skin is to get the experience which I want from Kodi, it was not designed as a skin for everyone.
Having said that I have no issues with anyone using it, but bear in mind I won’t be tweaking it for others – think of it as experimental.
This post also serves as a personal setup guide should have to setup another TV or tablet etc.
Yes you can just install the skin
The skin I have created is just another skin, albeit a bit experimental, so you can just install it and run with it.
Simply go to the “Skin installation” section on this page and it will talk you through it.
To get the full power of the skin you really need to follow the other steps in the sequence they are written – it’s you choice.
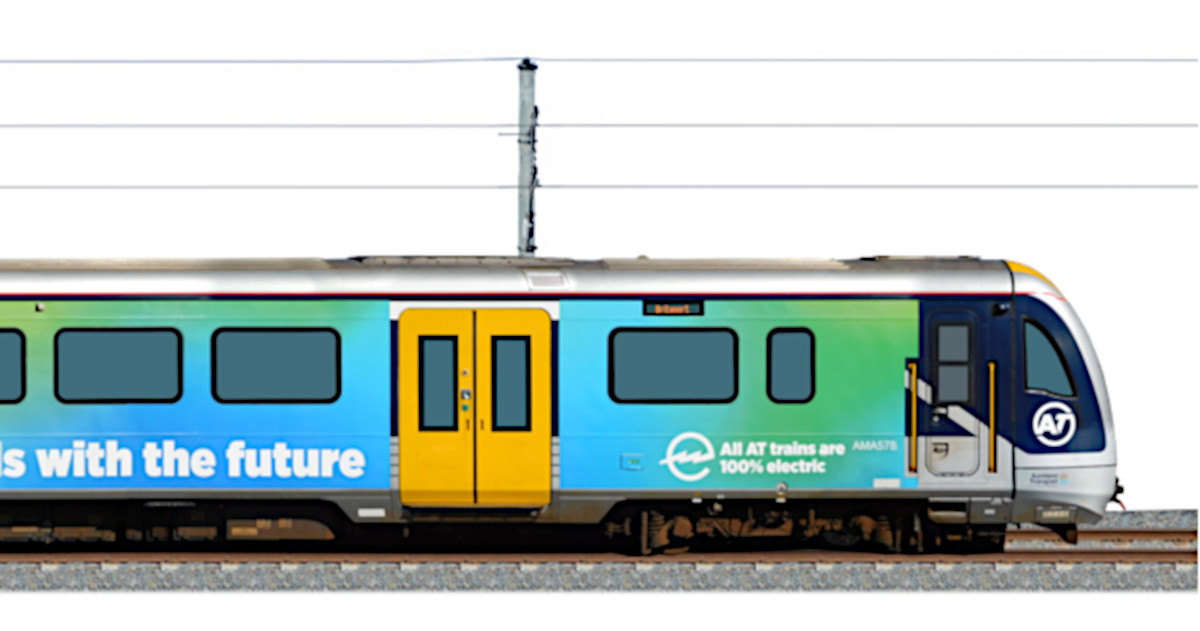
PVR/MythTV
Kodi has been my MythTV frontend for many years as I preferred a Windows OS in the living room. With smart TVs, running Kodi as an app on the TV makes even more sense.
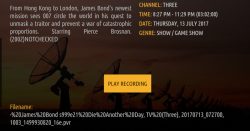
I like to group my recordings into shows and rename them with the correct episode name, number, and season. This is not made any easier as MythTV only allows two levels of hierarchy for TV recordings:

The tweaks around MythTV integration have also involved changes at the MythTV end. This is detailed in Display Year In MythTV Recordings
Music
For a long time I have wanted to be able to listen to my music in the lounge with reasonable quality using the FLAC recordings I have.
I have gone to quite a bit of trouble to create very accurate, lossless rips of my CDs. This has included full archiving of all the artwork that comes with the CD. I have detailed in my comprehensive post CD Archiving and related posts linked within it.
I wanted a solution that would allow me to see the artwork using the full 75″ of my new TV, with the ability to look at the artwork at the same time – it’s quite nice to be able to look at the artwork and lyrics from the CD while listening.

Customization goals
I am somewhat fussy and like things to be easy to use so the tweaks are around cosmetic and functional issues. We now have a Sony 75″ X85L with the tweaks focused around what works with TV. The TV uses Google TV and was released in 2023.
Switch skins sometimes
I find that skinning Kodi is quite complex and very difficult unless you really want to dig into it and really understand how it works. I did not have the time to do that, I simply wanted some cosmetic type changes to make it work the way I wanted – which is currently to listen to music, watch TV and video recordings.
I found a number of changes I made broke things, particularly settings – because I wasn’t making the changes the “right way”, or perhaps doing it the “right way” would not work.
I reached a point where I could not devote anymore time to getting everything working perfectly, I decided to focus on getting the bits I wanted and to accept that to do some activities I need to switch skins, to “Amber”, make my config change etc., and then switch skins back. It’s far from idea, but it’s the pragmatic choice I make.
I was keen to greatly simplify the menu, but it was impossible to do this while retaining access to infrequent menu items. By switching skins, the Zoyinc skin would have the menu items I want with the rest accessible by switching skins.
The activities that you need to switch skins includes:
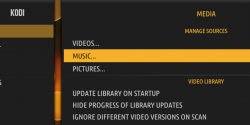
- Adding libraries – “Settings | Media Settings | Library | Music…”
Prerequisites
External keyboard
It’s not a requirement to have an external keyboard, as the install can be done with a TV remote. However having an external keyboard, such as Bluetooth or wireless usb keyboard, does make life much easier.
Kodi
Pretty obvious, but obviously the first task is to install Kodi.
Add-ons
MythTV PVR Client
My most important use is as a frontend to MythTV so naturally we need the “MythTV PVR Client”.
Install and configure as normal. Probably the main thing you will need to do is the IP for “MythTV backend hostname or IP”.
Our backed server is at “192.168.202.44”
Install the Amber skin
As mentioned earlier, the Zoyinc skin is experimental and some functionality doesn’t work or is inaccessible. Thus for some non-core activities you will need to switch to another skin. The skin of choice is “Amber” as that is what the Zoyinc skin was forked from.
Thus install the Amber skin from the repository.
NFS/SMB share
This post, and my use of Kodi in general, is focused around Android and Google TV installs and as such, being Linux based, I find NFS share are the best supported although you can still use Samba/SMB or local drives.
You will need to have somewhere to store your music, videos etc, that are easily accessible to Kodi. My suggestion is to setup some NFS shares.
At home I am currently using OpenMediaVault and have many posts on the subject – such as Installing Open Media Vault. On my “nas2” server I have the following shares that I use with Kodi:
- NFS://192.168.202.35/export/music – My music files in the subfolder “flac”
- NFS://192.168.202.35/export/videos – Video recordings
- NFS://192.168.202.35/export/kodi – Kodi add-on files, and advancedsettings.xml
In OpenMediaVault they look like:

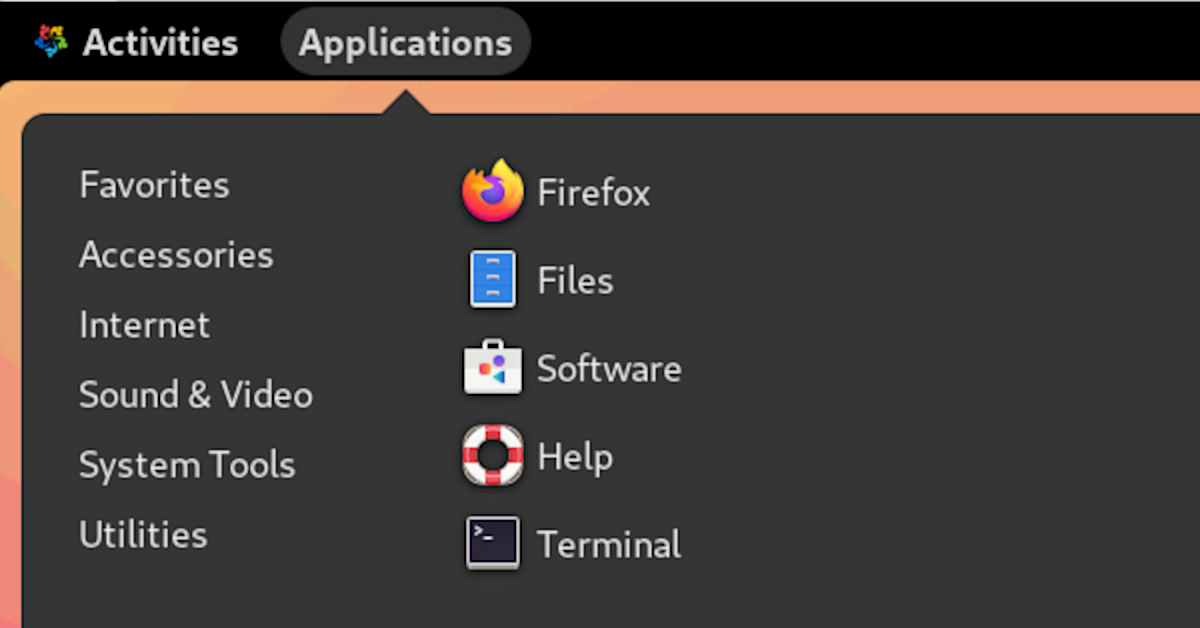
Enable unknown sources for add-ons
This is needed to install the Zoyinc skin from a zip file.
Navigate to “Settings | System Settings | Add-ons | Unknown sources”:

Press <enter> to enable this – you will get the following dialog, to which you should click on “yes”:

Music setup
As I emphasized earlier this skin is designed around what works for me, I don’t need to accommodate the multitude of ways people organize their music files and artwork, I only need to deal with mine.
I need my music collection to work with multiple things most importantly I need to be able to export my flac files as alac so I can use them on my iPhone.
I would suggest you look at my post CD Archiving to see how I do things and what the skin expects. The bottom line is you end up with a folder for each album, this contains a high resolution “Cover.jpg” file, all of your ripped *.flac music files, and a sub-folder called “stuff” that contains the artwork, and .cue/.log,/.m3u8 files.
Set NZ date setting
By default the dates are “mm/dd/yyyy” to change them to “dd/mm/yyyy” go to “Settings | Interface Settings” then set the “settings Level” to “Expert” and then go to “Regional | Short Date Format” and set it to the one you want, for me that was “(DD/MM/YYYY):

Disable screensaver
Under “Settings | Interface Settings | Screensaver | Screensaver mode”, set it to “None”:

Disable “Split albums into individual discs”
My personal preference is to disable splitting the album by disk, This is under “Settings | Media Settings | Music | Split albums into individual discs”:

MythTV Configuration
Personal preferences are to set:
- Show Live TV Recordings = off
- Show default recording group as root
- Set “Group recordings by title” to “Always”
Don’t forget to click “OK” to save.

Go to “TV | Recordings” and then press the left arrow to get to the Control Menu on the left and enable “Group Items”:

Install Music and Video libraries
Follow the instructions in Add/Remove/Reset music/video libraries in Kodi to create the Music and Video libraries
Set “BigList” view mode for videos
I have not spent time enhancing the Video pages, however simply switching the view mode to “BigLIst” for videos is huge help.
For videos only go back to them under “Settings | Media Settings | Library | Videos…”.
Then press the left arrow to go to the standard menu control and set “Then press the left arrow to go to the standard menu control and set ViewType” to “BigList”:

Add custom files
There are some custom files you need to add the Kodi users profile folder.
Start by downloading zoyinc_kodi_skin-extra_files-v2.zip and unzipping it. Inside you will find the following files:
advancedsettings.xml
Kodi has some settings for which there is no UI to configure them. To set these you a file “\userdata\advancedsettings.xml” and put the settings in it.
More details see: advancedsettings.xml
For us this file looks like:
<advancedsettings version="1.0">
  <imageres>9999</imageres>
	<imagequalityjpeg>0</imagequalityjpeg>
</advancedsettings>
keyboard.xml
The keyboard mapping for Kodi is pretty much ok, but there is one area where it needs a tweak – this is for Pictures.
With pictures you zoom in using the “+” and “-” buttons which don’t exist on a TV remove, so I wanted to make zoom work with pgup and pgdown as these translate to channel up and channel down on a TV remote.
Thus I added a section in keyboard.xml
  <SlideShow>
    <keyboard>
  	  <pageup>ZoomIn</pageup>
      <pagedown>ZoomOut</pagedown>
    </keyboard>
  </SlideShow>
Note that in many scenarios “pictures” translates to “slideshow” settings.
Installing custom files
Put the unzipped files, “advancedsettings.xml” and “keyboard.xml” on the NFS share “kodi”:
NFS://192.168.202.35/export/kodi/
Use the Kodi file manager, found at “Settings | File Manager”, and on the left side select “Profile Directory”, and on the right side select “Add Source” and go to the NFS share where you have put the files:

The files need to go to the following locations:
Profile Directory/advancedsettings.xml
Profile Directory/keymaps/keyboard.xml”


Note: to copy a file, select the appropriate folders on both sides, then select the file you want, it will turn red, and then either press “C” or on a Google TV long-press of the “OK” button:

Finally, from the menu click on “Copy”.
Restart Kodi
The files you have just uploaded will only be read when Kodi starts. We want to make sure that the advancedsettings.xml is in use for the rest of the steps – for the resolution stuff etc.
So it’s important to restart Kodi
Skin installation
Because the Zoyinc skin is not available from a repository, the best option is to download direct from GitHub as a zip.
Go to GitHub and locate my “kodi.skin.zoyinc” repo https://github.com/zoyinc/kodi.skin.zoyinc and download everything as a zip. You can either download from “master” or download a “release_*” branch.
I download the “release_0.1” branch, saving it as “kodi.skin.zoyinc-release_0.1.zip” and putting it on the “kodi” NFS share.
Go to “Add-ons | Add-on browser | Install from zip file”:

When you click on “Install from zip file” you should see an option “Network file system (NFS)” – click on this.
Be patient it will take a few seconds before it presents you a list of IPs:

In my case my files are on “nas2”, which is “192.168.202.35”. Click on the IP that matches the NFS server for you. This will come back with a list of shares:

In my case I selected “/EXPORT/KODI” so click on the share where the zip file is.
From this folder select the zip file you want to use, in my case “kodi.skin.zoyinc-release_0.1.zip” and click ok:

You will be taken back to the “Add-on browser” screen.
Be patient, don’t do anything, wait until you see “Would you like to switch to this skin”, this could take quite a few seconds:

Then “Would you like to keep this change?” – click on “Yes”:

Now the screen will go black for quite a while. Wait until it returns you to the main screen.
Double check that the skin has been switched by going to “Settings | Interface settings | Skin” and you should see Zoyinc as the current skin:

Post skin install
Install kodi.sounds.zoyinc
This is available from my repo “kodi.sounds.zoyinc”, https://github.com/zoyinc/kodi.sounds.zoyinc/
This is a very small add-on with the sole point of it being to not make any sound for notifications, but still make the other GUI sounds. So this is entirely optional.
Just do the same thing you did for the skin, except once installed you won’t get prompted for using it.
Then go to “Settings | System Settings | Audio | Gui Sounds” and change “Gui Sounds” to “Zoyinc Sounds”:

TV and Kodi passthrough settings
I had quite a bit of audio synchronization problems.
My TV is a Sony 75 X85L and I have the Sony HT-S400 soundbar which I connect using HDMI/eARC.
I found an interesting post related to my challenges: TrueHD7.1 on Kodi via HDMI 2.1 eARC?
This is the audio settings I added for my TV:

Then in Kodi my settings, under “Settings | System Settings | Audio” were:

From what I can see these options will vary depending on what OS you are dealing with and the underlying hardware such as the TV and soundbar.