
I have a OMV box with two disks in RAID 1, mirroring, with one disk failing. This post describes the process.
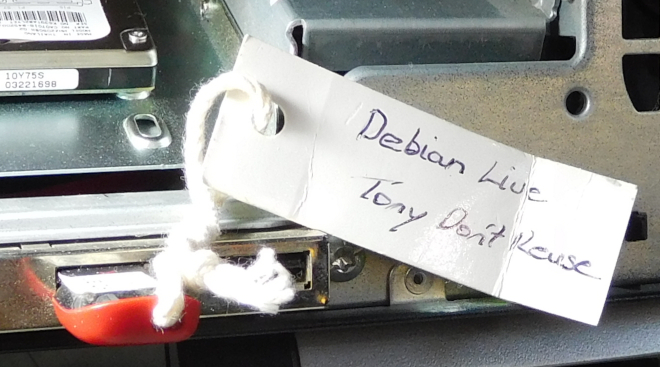
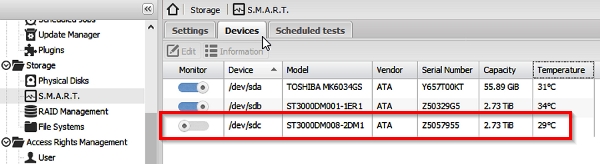
Write down, on paper, the serial number of the failing disk. If you are like me all your disks may well be the same brand/model, so serial number is important.
Removing the failing disk from within OMV
There are some gotchas when removing disks, following the correct steps will save you grief later:
- Delete any S.M.A.R.T. scheduled jobs for the failing disk
- Disable S.M.A.R.T. monitoring for the failing disk
Clearly as you are going to be replacing physical disks you also need to shutdown, pause, or whatever is appropriate to anything accessing the disks.
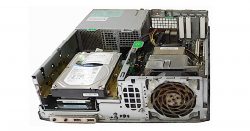
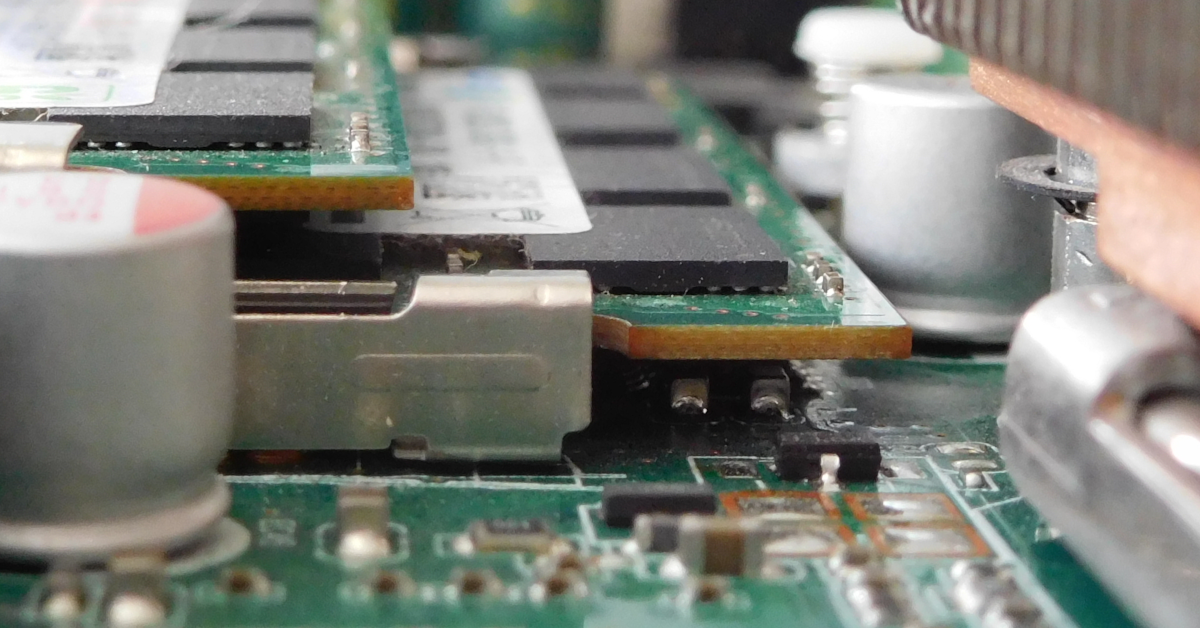
Swap the actual drives
Now shutdown the host and take out the failing drive and put in the new one in it’s place – obviously being really careful to swap out the right disk 🙂
Restart OMV and once up and running login. BTW you will likely get a BIOS warning and it will require you to save the new hardware config.
OMV configuration changes
Once logged in select “Storage | S.M.A.R.T.” and from that “Devices”. Now that you have swapped out the failing disk you will see it missing from the list of devices and your new disk added.
If you now select “Storage | RAID Management” you will see that your RAID has a status of “active, degraded”. This is obviously because it is missing a disk.

Now that you are on RAID management click on the “+ Recover” button:
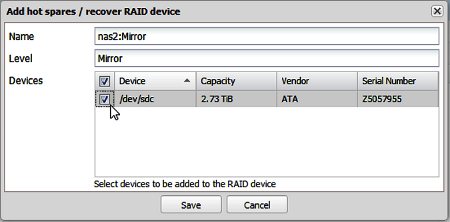
As above you will see just one disk, the new one you just put in, so click on the check box as show above to add it to the RAID and click on “Save”.
You will need to “Apply” the changes as per normal. After the changes have been applied you will see the below:

In the “State” column you will see:
active, degraded, recovering )0.1% (4461184/2930135488) finish=390.9min speed=12710K/sec)
This indicates that as this is a mirror RAID it is rebuilding the new disk from the current working disk and it will take around 390 minutes.
You can use the NAS host as normal now
The good news is the rebuilding of the new disk will happen in the background and you can now use the NAS box and all its shares as before. They might be a little slower as it is rebuilds the new disk, but you are now back in action.
SparesMissing event emails
After replacing the disk you may start getting the “SparesMissing” emails from OMV:
SparesMissing event on /dev/md/Mirror:nas2 [nas2.cantabrian]
This is a somewhat know error, ssh to the box and look for:
/etc/mdadm/mdadm.conf
You will probably find a line like:
# definitions of existing MD arrays
ARRAY /dev/md/Mirror metadata=1.2 spares=1 name=nas2:Mirror UUID=fa9357c4:46935ec5:ebf94dda:dc66ddc7
You need to change the “spares=1” to “spares=0”. In fact it looks like you can delete “spares=1” altogether.
Add new scheduled tasks and SMART monitoring
You can see how to do this in the post Hard disk SMART monitoring and alerts in OMV
Email warning for failing disk
Once you have setup monitoring you will most likely get an email alert along the lines of:
Subject: DegradedArray event on /dev/md/Mirror:nas2 [nas2.mydomain]
This is an automatically generated mail message from mdadm running on nas2
A DegradedArray event had been detected on md device /dev/md/Mirror.
Faithfully yours, etc.
P.S. The /proc/mdstat file currently contains the following:
Personalities : [raid1]
md127 : active raid1 sdb[1]
2930135488 blocks super 1.2 [2/1] [_U]
bitmap: 2/22 pages [8KB], 65536KB chunk
unused devices: <none>