 Azure pipelines are great, but a frustration is how to persist variables through phases in build and release pipelines.
For two tasks running in the same agent phase you can pass variables a number of ways. If it is a Windows host you can do it through PowerShell or the O/S, otherwise you can drop it to a property file. Both are possible because all tasks within a phase run on the same host.
If you have two tasks which are running in different phases you have a much bigger problem. This is because each phase could run on a different agent, or in the case of an server phase, not run on an accessible host at all.
Even if you could lock a release to an agent and even if you trusted Azure to always do this, frequently you wouldn’t want to do it. I mean, what if you have 4 agents in total and three agents are paused at “manual intervention” – meaning 3 of your 4 agents are out of use and doing nothing but waiting..
The Zoyinc method
At a high level my proposed solution is simple, it’s the detail where it gets tricky.
Using Azure API calls you can update certain details of a release. Note I am talking here about a “Release” not a “Release Pipeline Definition“. A “Release” is an instance of a definition. For example, in a release, you can update global environment variables and change the details of a stage – you just can’t change the details of the current stage.
My solution is to persist variables as “Pipeline variables” which have a scope of “Release” – global if you like. These can be updated and even added at any time using API calls. As I mentioned earlier “the devil is in the detail”.
The types of use cases that come up for persisting variables are around passing values between disparate tasks running in different phases, or reading a users comments in a “Manual Intervention”, or being able to skip certain phases/tasks based on complex conditions. By persisting variables as pipeline variables you get the maximum functionality.
Pipeline variables are very flexible and can be used in phase conditions controlling if a phase is executed, easily added to manual intervention instructions or passed to tasks/scripts.
The fiddly bits
Using pipeline variables with scope of “Release” can be challenging, for example a big problem is that a particular release could potentially be deployed to multiple stages concurrently. The solution to this is to have different variables for each stage. In my case all persistent environment variables are prefixed by “GLOBALVAR_” followed by the stage name, “PROD_” and then the actual variable name “DEPLOYMODE”. Giving a variable name in PROD of “GLOBALVAR_PROD_DEPLOYMODE”.
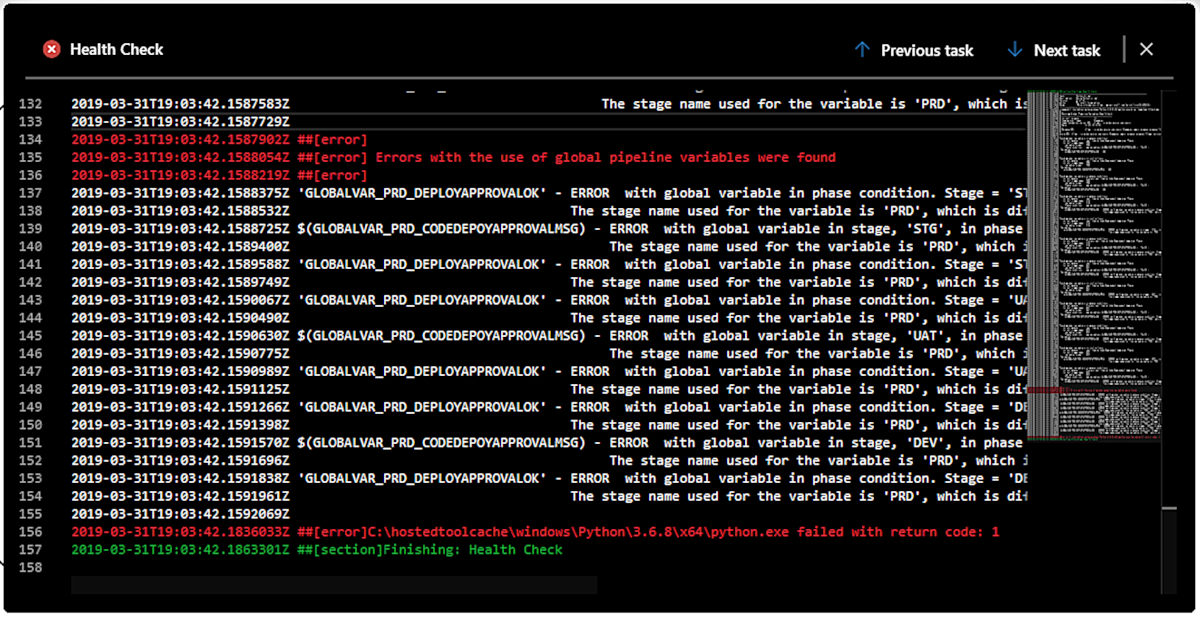
The above is where the “healthCheck.py” script comes into it’s own. It download the pipeline definition and parses it looking for persistent variables and checking that you don’t have “GLOBALVAR_PROD_DEPLOYMODE” inside a “DEV_TEST” stage.
The two scripts give various examples of how to use the “requests” Python module to call Azure APIs to get info and then update pipelines.
Azure DevOps solution
Azure does have a solution to persisting variables:
Share variables across pipelines
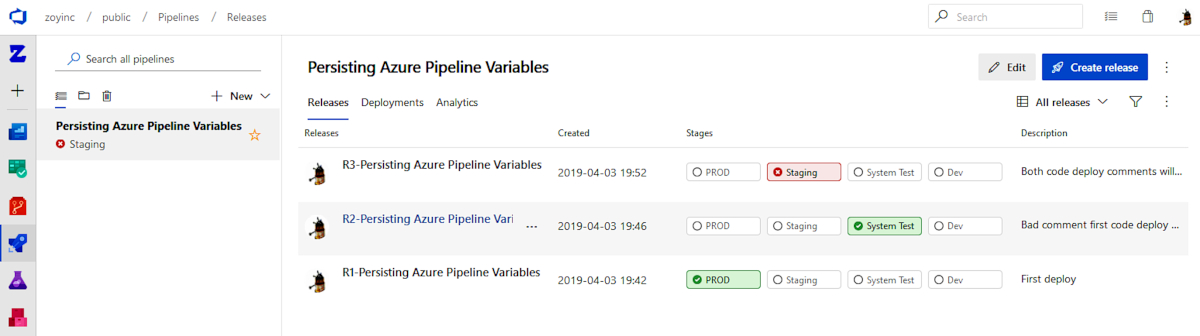
The demo
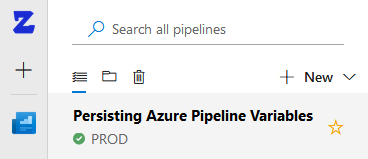
To put all the pieces together and ensure I have caught all the fiddly bits I have created a working demo release pipeline “Persisting Azure Pipeline Variables”.
Below are all the files you need to setup an instance of this demo for yourself, in your personal Azure project.
Health check Python script
healthCheck.py (.zip)
Process code deployment approval comments Python script
processCodeDeployApproval.py (zip)
Export of the demo release definition
Persisting Azure Pipeline Variables 20190402.json (zip)
For simplicity and to make this demo portable, it was designed to work with the Azure hosted agents, specifically the “Hosted Windows 2019 with VS2019” agents. These particular agents don’t come with the Python module “requests”, which I require, so this has to be installed at the start of each agent phase – obviously this has a noticeable impact on deploy timings.
Best practice would be that the Python scripts should come from Git, but to make the demo more transparent and simpler I have actually put the scripts in as “Secure files”.
YouTube demo and walk through
To quickly demonstrate how to setup this pipeline using the files listed earlier I have created a YouTube demo which also walks you though the use case the demo resolves.
The Python scripts
Perform Health Checks
As mentioned earlier all our variables are stage specific, all variables are named “GLOBALVAR_<Stage>_<var name>”. So for example the variable to hold the manual intervention comment is:
GLOBALVAR_STAGING_CODEDEPOYAPPROVALMSG
Its a bit long but it’s functional.
Using the process I have outlined we need to have variable names that match the stage name. It would be very easy not to get this right and end up with a pipeline that is totally dysfunctional. Thus I have written a “Health Check” script that runs right at the beginning. Its primary purpose is to check that any global variables used in either:
- Last Chance Code Deployment Approval Task
- Any custom condition variable expression
- Manual intervention instructions
aligns with the actual stage where the item is. If there are any mistakes the build fails and give you all the details necessary to fix the problem. This health check runs on each deploy and checks all stages not just the current one – so it will test PROD before you get to it.
 Setting up the release pipeline
The following describes how to take the files on this post and create a pipeline in your Azure DevOps project..
Import the pipeline json file
Import the pipeline file and you will notice some things you need to do:
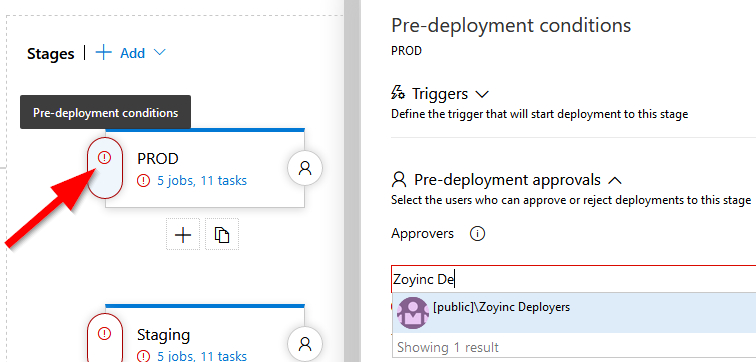
 As you can see by the red circles there are a number of things you will need to do. First thing you should define the users allowed to do the pre-deployment approval for each stage:
 Next define the Azure PAL, personal access token, in variables:
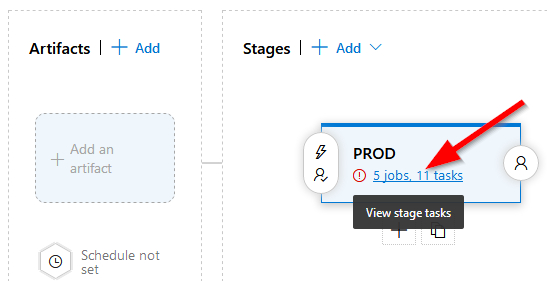
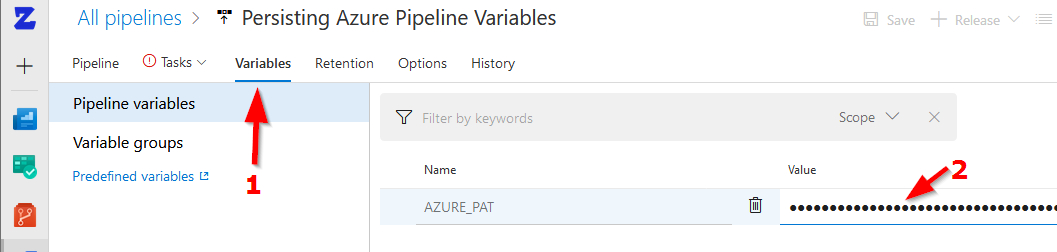 Lastly we need to setup the tasks. For each pipeline click on the tasks:
Finish setup
On each stage for each of the “Run on agent” phases, which is “Perform Health Checks”, “Process Code Deployment Approval Phase” and “Process Last Chance Code Deployment Approval Phase”, you need to set the “Agent pool” to “Hosted Windows 2019 with VS2019”
 Only after doing this will it allow you to save the pipeline definition – which you should do.
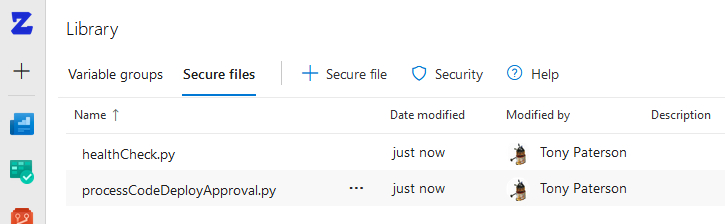
Now upload both Python scripts in the “Secure Files” library:
 For each stage there are 3 “Download Secure File” tasks. One per stage to download “healthCheck.py” and two instances to download “processCodeDeployApproval.py”:
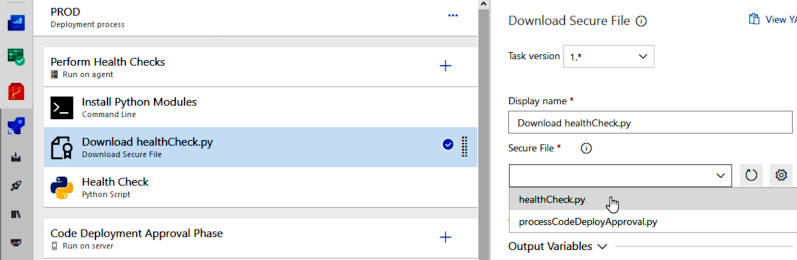 Go through the tasks in each stage and ensure all the “Download Secure File” tasks are configured to download the correct file.
Run the pipeline
Now that you have finished configuring the pipeline you can go ahead and do some deploys: