Note this article is for information purposes and should not be taken in any way as official or recommended repair instructions – see Zoyinc disclaimer statement.
Introduction
We have found the Electrolux Ergorapido to be a very reliable and useful appliance to have around the house. It’s no replacement for our Dyson plugin vacuum but for a quick vacuum after meals with kids it’s great.
The problem we often have is with the
Remember you can click on any of the images in this article to get an enlarged view!
Tools used

The above are the tools I used, probably you don’t need them all:
- Magnifying glass and clamp stand for soldering.
- Magnetic pickup to get stubborn screws out
- Cutters to remove old clip joint
- Screw drivers
- Plyers
- Soldering iron
Steps
First remove the brush roller by pressing the brush roller release button:
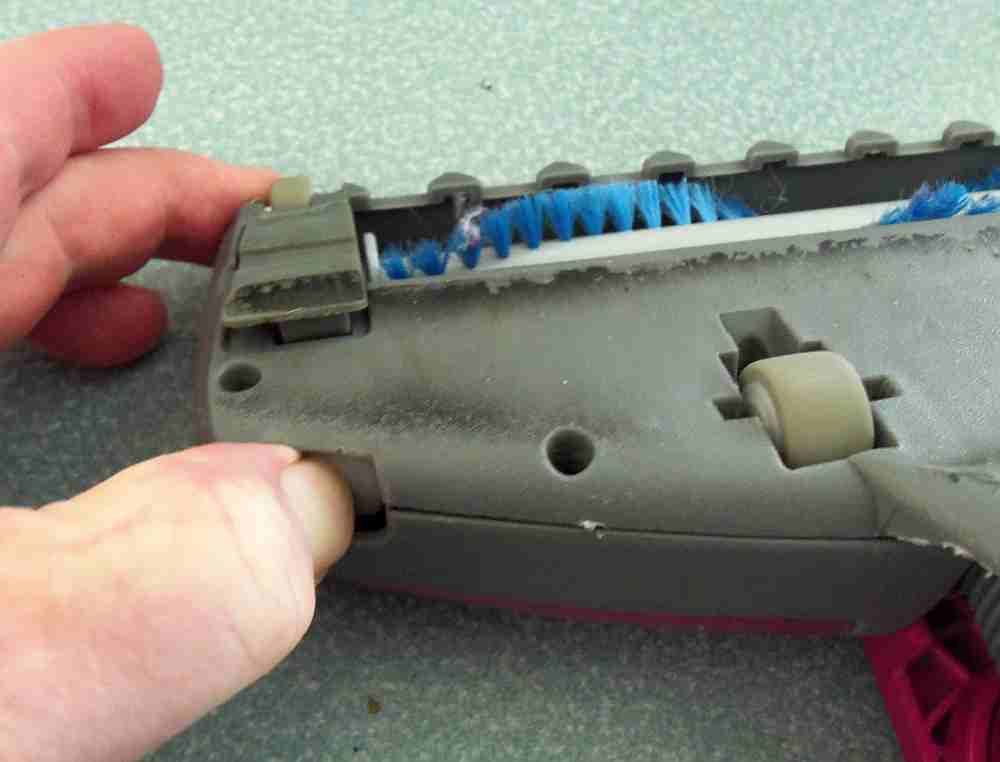 Next take out the small and large rollers on the head of the vacuum. These can just be pried out with a screwdriver:
 Next remove all the below screws:
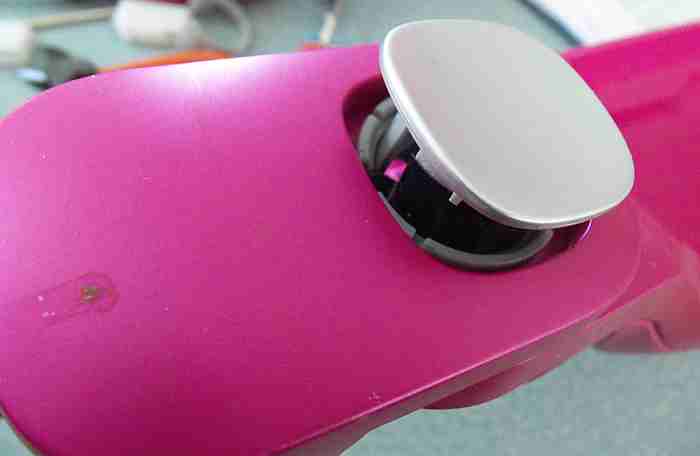
 Now you should be able to just lift the vacuum tube out of the way. You should remove it completely from the cleaner. The end of the hose that leads up to the handle can easily be removed by pressing on the clips at the top of the tube:
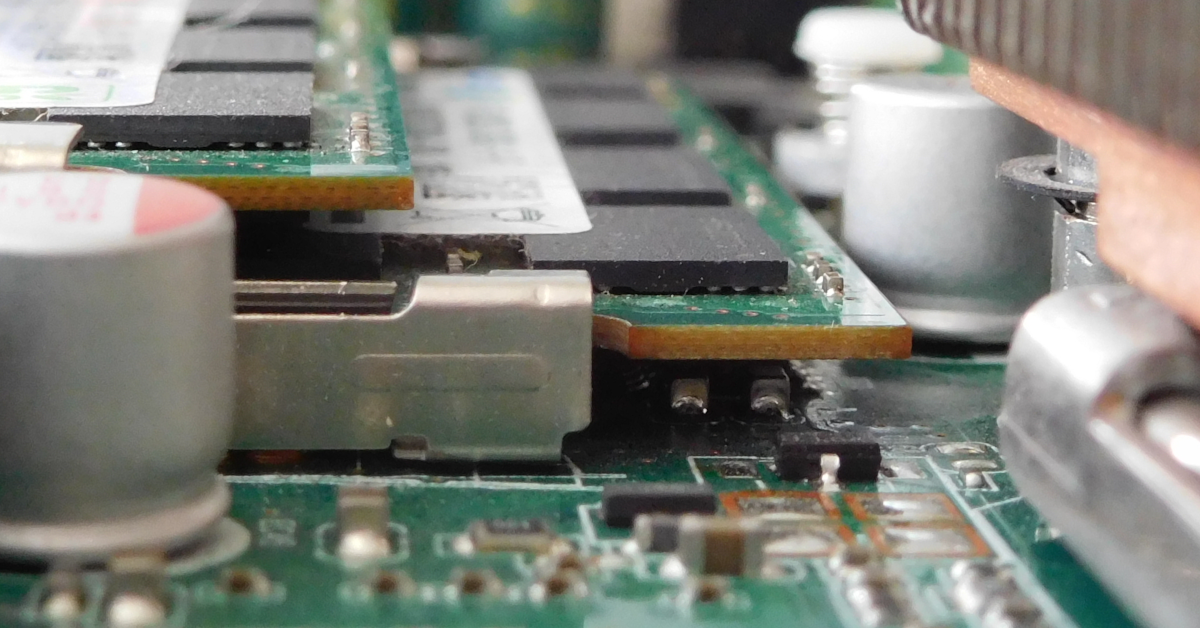
 Now you should unscrew the circuit board inside the head of the vacuum:
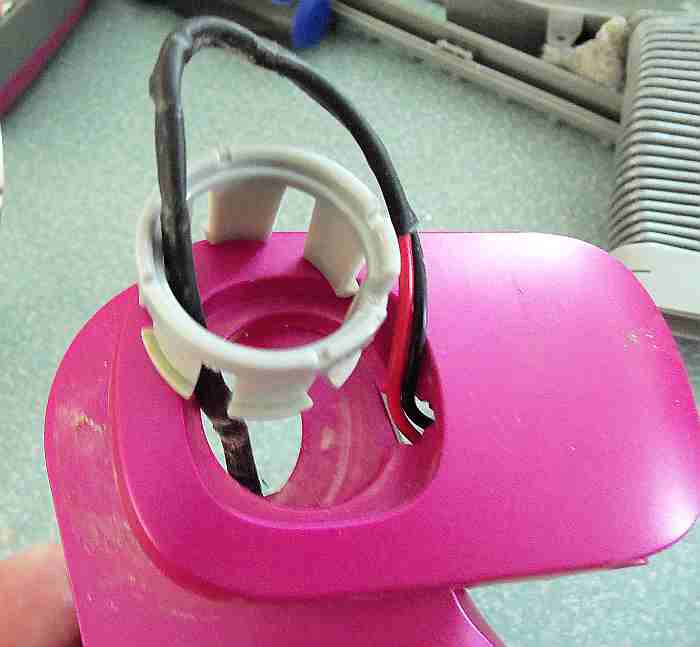
 At this point is worth noting where the wiring goes, as shown below. In particular note that the wire to the handle goes through the white block that holds the swivel rod. Also note how the wire to the brush motor goes around the back.
Note the wire to the handle goes underneath the swivel rod via a couple of slots in the plastic.
You should also pay close attention to how the wire goes through the swivel section. In fact I would suggest you take some photos before you remove the cable so you will know how to thread it back!

Now unscrew the circuit board and record where the wires go as you will need to unsolder the wires that lead up to the handle of the vacuum. You may need the hand of clamp stand to hold the board and do the soldering


Once the wires are separated from the circuit board pull the cable back through the broken clip joint.
Taking the new clip joint thread the wire back through it as it was before and push the new clip joint into place. Be careful to ensure you have enough slack cable inside the clip joint area so that the head can swivel without stretching the cable.
Now that the new clip joint is installed you can solder the wires back the way they were before.
Having soldered back the wires you can now thread the wire back the way it was previously:
Again you need to ensure that it goes through the white block securing the swivel rod, underneath the swivel rod and also ensure that the rest of the cable goes in the various slots as before. If the cable is not in the right slots then the cover plate for the head will not sit flush as it is supposed to.
Now go back over the above instructions for disassembling the head and reverse them to put it back together. Be patient you will get there the hard work has been done.
Parts
You can buy these parts from a number of authorized service agents and if you don’t know who these are Electrolux are happy to let you know who they are. A couple I know of are:
You should find the prices for clip joints quite reasonable. Apparently they only sell the clip joints and clip joint nozzels as a set: