I am setting up an Open Media Vault, OMV, NAS box for my home storage requirements, detailed in the post Installing Open Media Vault. I don’t have the resources to setup a full RAID 5 array, this would require a box with space for 3 drives plus which I would actually need to purchase 3 drives.
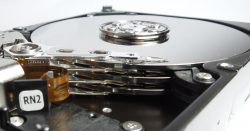
So I am going with an older box with two 3GB drives in RAID 1 (mirrored). The idea is that if the box fails or I lose a drive the remaining drive can still be read. Not perfect for performance but I am going to use 7200 Barracuda Seagate drives, so hopefully that will help.
This article is about taking a drive from one from this RAID 1 and reading it on another box – worst case scenario.
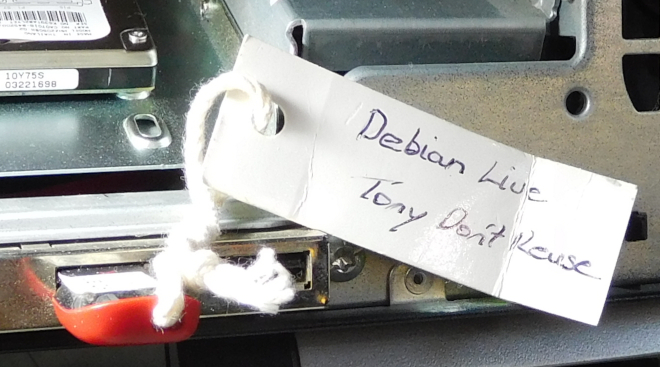
Given that Open Media Vault run Debian the approach taken is to run a live USB version of Debian and mount the drive.
| 1. | Create a Debian Live USB flash drive as described in article Create a Debian Live USB flash drive |
| 2. | If you want to connect to this Debian Live instance using SSH follow the instructions int he post Enabling SSH access to Debian live USB |
| 3. | Should you get timed out the password for the user “user” is “live”. |
| 4. | At this point ensure the terminal window is not too small because the first screen you get will only:
 If this happens to you just kill your terminal session, make the window bigger and try again. This time you should see:
|
| 5. | Now install mdadm:
apt-get install mdadm rsync initramfs-tools You will be asked If “the system’s root file system is located on an MD array (RAID…” Ensure you enter “none” as your answer. |
| 6. | Now we want to see the drives that are available so run:
lsblk This should produce something like: NAME MAJ:MIN RM SIZE RO TYPE MOUNTPOINT sda 8:0 0 74.5G 0 disk └─md127 9:127 0 74.5G 0 raid1 sdb 8:16 1 7.5G 0 disk └─sdb1 8:17 1 1.2G 0 part /lib/live/mount/medium loop0 7:0 0 1.1G 1 loop /lib/live/mount/rootfs/filesystem.squashfs |
| 7 | You can see from above that our remaining Mirror array disk is “sda”.
Create a temp directory to mount it in: mkdir /mirror |
| 8. | Now mount it using something like:
mount /dev/md127 /mirror |
| 9. | Because we enabled ssh login using root you can now sftp using WinSCP as root to move your files back to your laptop or PC. |
A useful command is:
mdadm --examine /dev/sd*
Which will give something like:
/dev/sda:
Magic : a92b4efc
Version : 1.2
Feature Map : 0x0
Array UUID : 99576b9e:6ffe87e8:fc43bf24:9c6b84ab
Name : nas2:Mirror1
Creation Time : Sat Jun 4 05:42:20 2016
Raid Level : raid1
Raid Devices : 2

Avail Dev Size : 156181504 (74.47 GiB 79.96 GB)
Array Size : 78085120 (74.47 GiB 79.96 GB)
Used Dev Size : 156170240 (74.47 GiB 79.96 GB)
Data Offset : 131072 sectors
Super Offset : 8 sectors
Unused Space : before=130992 sectors, after=11264 sectors
State : clean
Device UUID : 55c45427:8ba028de:ef53f68a:2cd44a10

Update Time : Wed Jun 22 21:26:19 2016
Checksum : 38926569 - correct
Events : 122029
Device Role : Active device 1
Array State : .A ('A' == active, '.' == missing, 'R' == replacing)
/dev/sdb:
MBR Magic : aa55
Partition[0] : 2573440 sectors at 64 (type 17)
mdadm: No md superblock detected on /dev/sdb1.