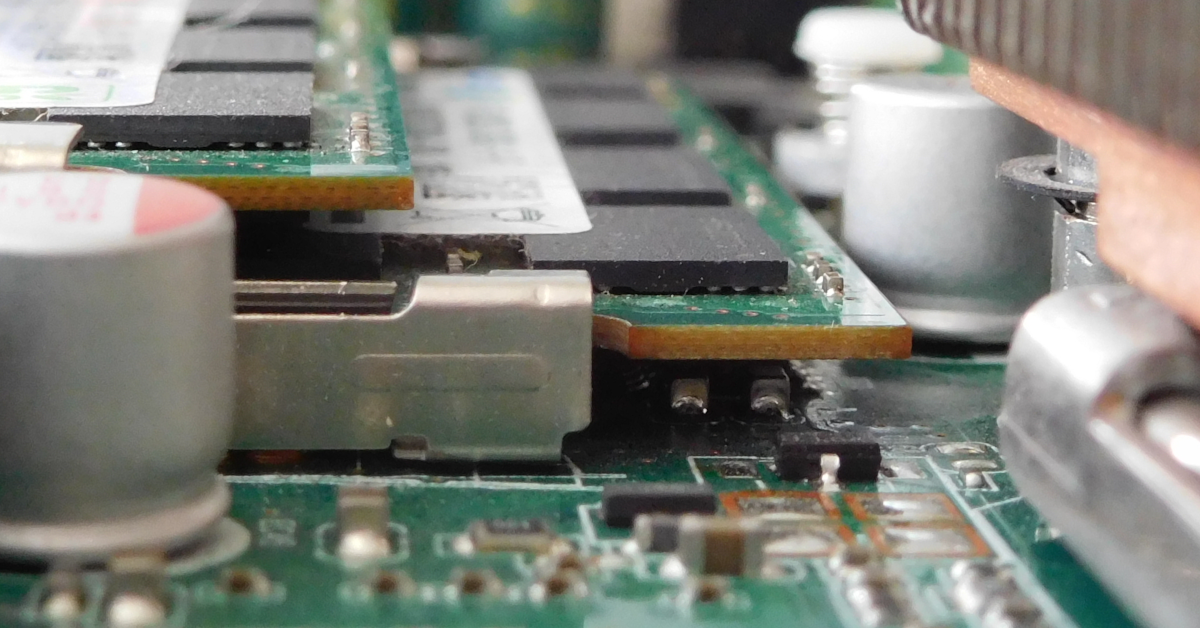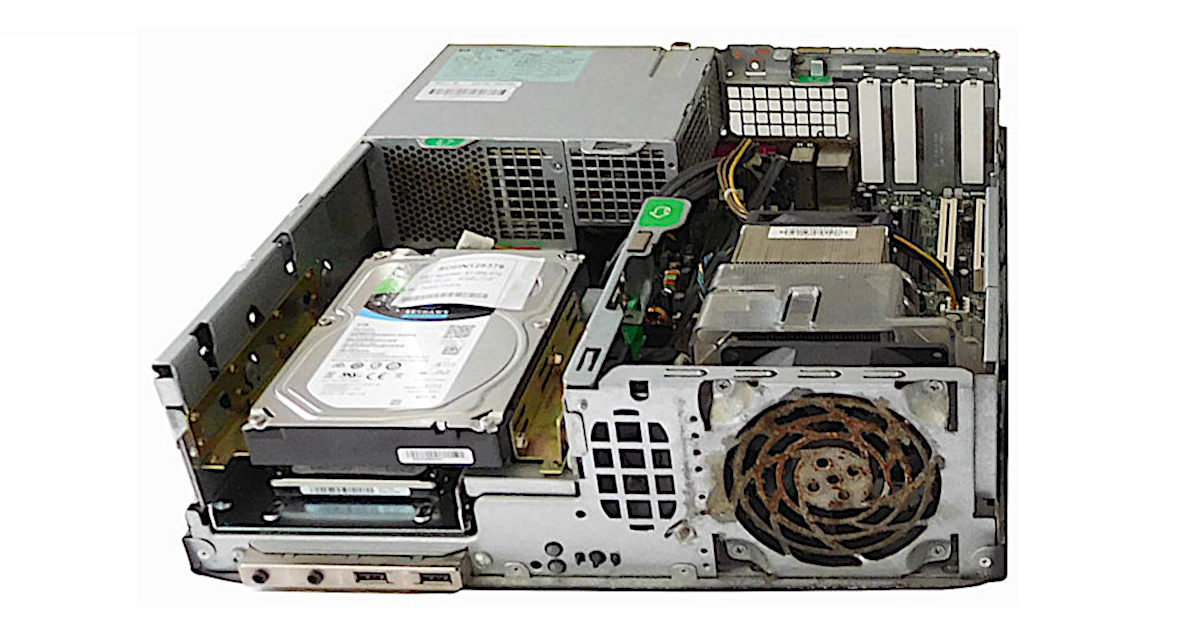
My OMV server failed and would not start so I had to move the data disks, mirrored and system disk to a new PC. This is some lessons learned.
Keep it off the LAN
For the exercise of moving the disks it seems much easier if you keep the new server off the network until you finish. This means that hopefully you won’t update the RAID until you are ready. You will need to keep your regular PC/laptop connect to the new server to do various things but keep both of them off the LAN
It should just work
After the event, 🙁 , I discovered that things “should” just work based on the reading up I did. When I did it myself I was super worried that I would lose data that I brought up one disk and then the other – this actually split/broke the mirror array I had set up. Another time I would just connect both disks first time.
If you are worried that the disks will appear on different mounts, so /dev/sdc =>/dev/sdb , apparently that should not be a problem as mdadm is basically smarter than that and the configs aren’t configured to use /dev/sda etc.
Steps
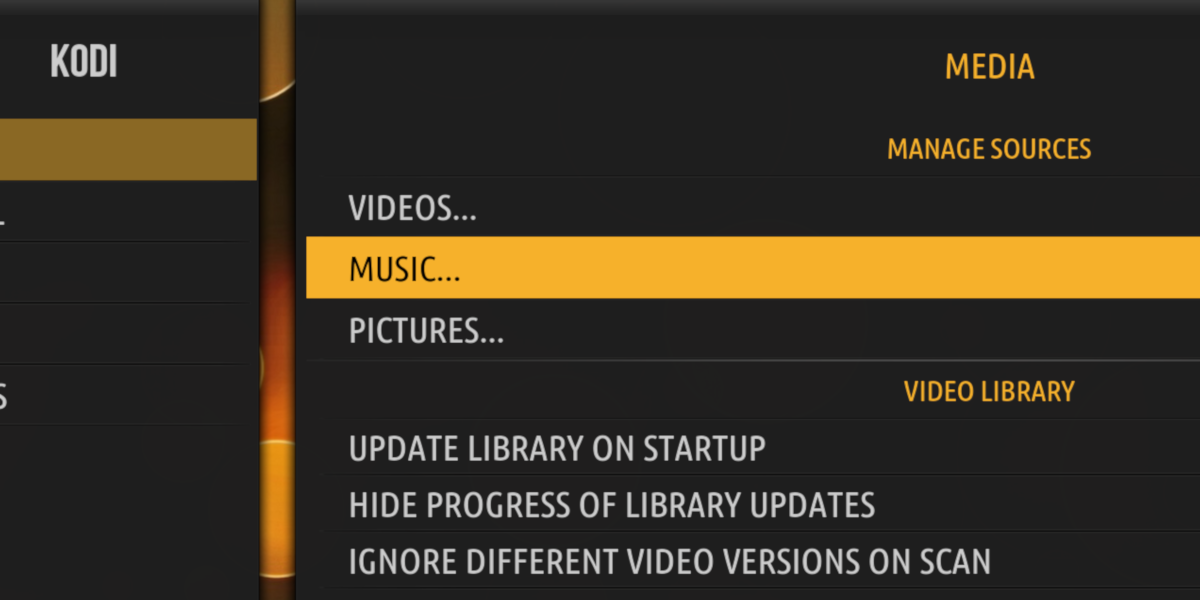
Put the OMV system disk into the new hardware and start it up. At this point prior to adding the system disks, you can keep it on the LAN.
This should boot but it is very likely that the network adapter won’t be found. You should run “ifconfig” to check.
If the network adaptor is not found then run “omv-firstaid” and select “Configure network interface”. Worth noting with my version of OMV, 2.2.14, the network configuration from omv-firstaid is not perfect, for me I needed to enable DHCP initially and then login via the GUI and set a static IP.
If you get unlucky you might find on a restart it hangs, if this is the case I would just reboot and try again.
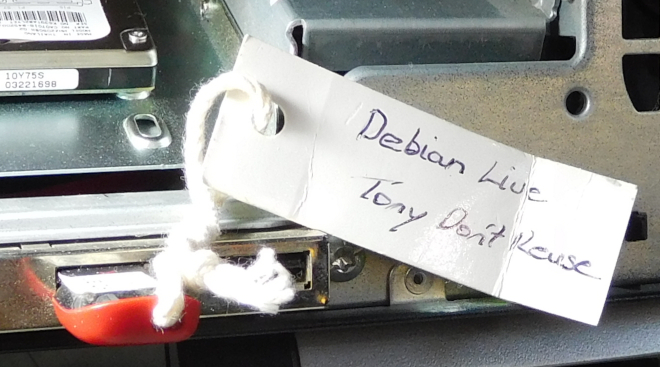
If it continues to hang I would boot with a Debian rescue USB disk, see Create a Debian Live USB flash drive , and edit the “interfaces” file on the OMV system disk:
/etc/network/interfaces
As you are booting from a Debian USB key the “interfaces” file will be something like:
/media/user/1c3bca3a-7d85-4538-8ab2-d6fc7901508c/etc/network/interfaces
Again, because you have booted on a Debian USB key, you need to open up a terminal and then “sudo su -” to become root and then as root run “gedit” to start up the editor as root and thus have read/write access to the OMV system disk. If you don’t do this then you will have read-only access.
For this file first back it up and then edit it removing all references to the loopback network device.
Also if the network config keeps failing/hanging, then it might be worth pressing <ctrl>c and rerunning ifconfig because it may have worked.
At this point login to the GUI for OMV and set a static IP. You need this now, if for no other reason because you also need to take it off the lan and have it only connected to your personal PC – which is obviously also off the LAN.
Personally at this point I would restart OMV a couple of times to ensure the networking is ok and the system disk is starting without issues.
Once the system disk is done and networking is working you should shutdown and install both disks and start up. All being well it should “just work”
Mirrored array is split
When I did this I followed a different path and added one data disk, restarted and then added a second data disk. This did not help and actually split the mirror array. If this happens to you read the post OMV fix accidentally split mirror RAID